Art Lesson Plans
The Art Lesson Plans created by Brava Art Press showcase an inspiring array of creative options. From the Art of Construction to Linocut printing. The Lesson Plans use only Chroma educational products. We hope you enjoy and are inspired by the creative originality they offer.
This tutorial is available in PDF format.
In this video, Raquel Redmond from Brava Art Press explores a project called “The Urban Landscape.” This project is inspired by the shapes and lines found in city maps.
Chroma 2 Washable paint has been used in this painting tutorial.
Art Technique
Painting
Age Group
6 to 14 years of age
Concept
Students express their ideas about the urban landscape from a birds eye perspective using colour, linework, shapes and textures.
Sessions
2 sessions of 1 hour and 30 minutes each PLUS 1 session of 1 hour.
Room arrangement
Group desks in lots of four to create space in the centre and cover desks with secured sheets of plastic or single sheets of newspaper.
Materials
- 1 x A3 size cartridge paper or brown/kraft paper that has been primed with Chromacryl gesso, per student OR
- 1 18 x 14 inch canvas per student
- 1 A4 photocopy reference of a city map per student
- 1 10 x 15cm window with a 4cm wide border (post card size) to use as a view finder per student
- Masking tape to tape the view finder to the map
- 1 x 2 litre bottle of Chroma 2 Washable paint in the following primary colours: white, black, warm and cool yellow, warm and cool blue, warm and cool red per class
- 2 boxes of natural charcoal (willow charcoal) per class
- 1 x #6 hog hair paint brush per student
- 1 x #4 hog hair paint brush per student
- 2 boxes of natural charcoal (willow charcoal) per class
- 2 x water containers for each group of 4 to 6 desks
- 1 x rag per student for cleaning
- 2 ice cube trays containing a range of different coloured paint, per group of 4 to 6 desks. Any other small plastic containers with lids are also suitable.
- 1 roll of plastic kitchen wrap to cover paint trays at the end of each session
- 1 small newspaper to cover desks
- 1 roll of masking tape to secure the newspaper per class
- 1 or 2 pieces of scrap paper per student to mix colours (easily disposable at the end of the session)
- 1 plastic bucket with soapy water
- 1 non-abrasive scouring pad to clean paint brushes
- 1 paint shirt or art smock per student
This project has been designed to suit normal classroom conditions and illustrates how the classroom can be adapted to create working space required.
This tutorial is available in PDF format.
{/sliders}
Objective
This project provides students with the opportunity to reflect on and discuss the history of cities and towns and the way they have developed and changed. It also presents a creative approach to painting the landscape from a different perspective: that of a ‘bird’s eye view’.
Visual references
Pictures of the natural landscape and pictures of cities, old city street directory maps and tourist guide maps. Landscape paintings by Australian Indigenous Artists.
If teaching this tutorial in Australia, discuss and show pictures of the way Indigenous artists have represented the landscape in their paintings. Point out things like plants, seed pods, watering holes and other natural formations of the land, having applied bright colours and patterns—and point out the ‘bird’s eye view’ they use.
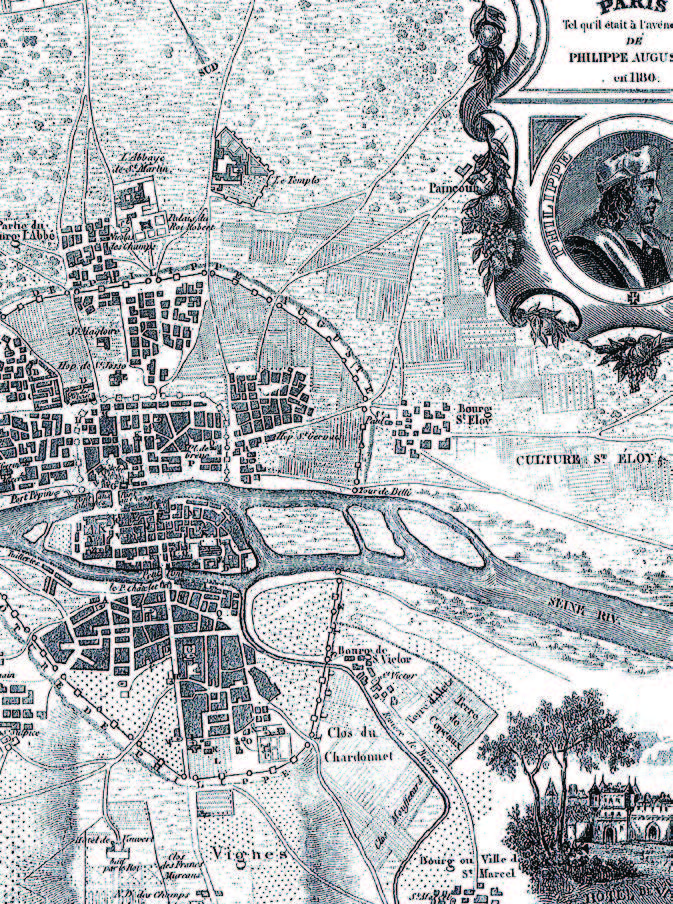
An old map of Paris.
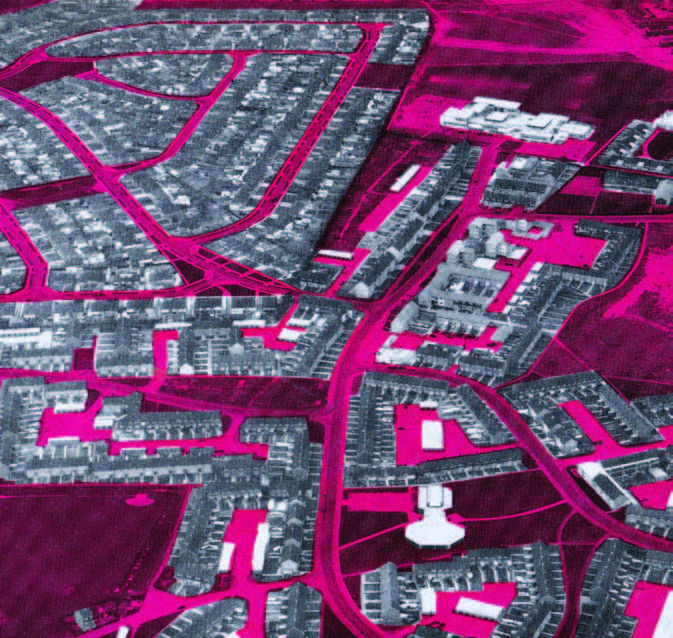
An aerial view of a modern suburb
ROOM SET-UP AND PREPARATION
Arrange the desks in groups of 4 or 6 and cover them with sheets of newspaper secured with masking tape (1) so the students can work in groups and reach for the art materials easily. (2)
Prepare all the art materials in advance—make the view finders, dispense paint, and source the paper, paint brushes, the old maps and the rest of the equipment needed for this painting experience.
First Session
Present the idea and show visual references, initiate a group dialogue based on the idea of the land and its natural formations and then compare this with the urban landscape. Discuss the idea of how the landscape has changed as man has divided the land into cities, suburbs, blocks streets and road ways.
The next thing to do before starting to draw and paint, will be to allocate the students with the photocopies, A3 paper and the view finders so that they can then place the view finders over the maps and select an interesting area they would like to draw. (3)
Drawing: Once the students have selected their preferred area on the map, with their view finders, they can then start drawing using the charcoal sticks. (4)
Firstly, look at the right edge of the view finder—drawing lines from the same edge of your paper (the right edge)—and then moving across the rest of the paper. (4)
Painting: Once the drawing of lines and shapes is done, students will start applying paint. First they will paint the big areas with the medium sized paint brush. At this stage students will start to make decisions about colour and will have the opportunity to mix as many colours as they like.
Second Session
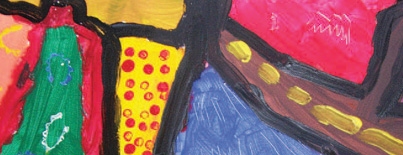
Continue on with the painting process. Students can start filling in the detail with their small paint brush adding patterns as they go—like repetition of short lines (crosshatching), dots and many other strokes that they can use to fill the selected areas. Printing patterns can be done by using small pieces of foam and bit of cardboard.
Third Session
A third session for this tutorial is recommended to encourage the students to talk about their paintings and to engage in what other students have done.
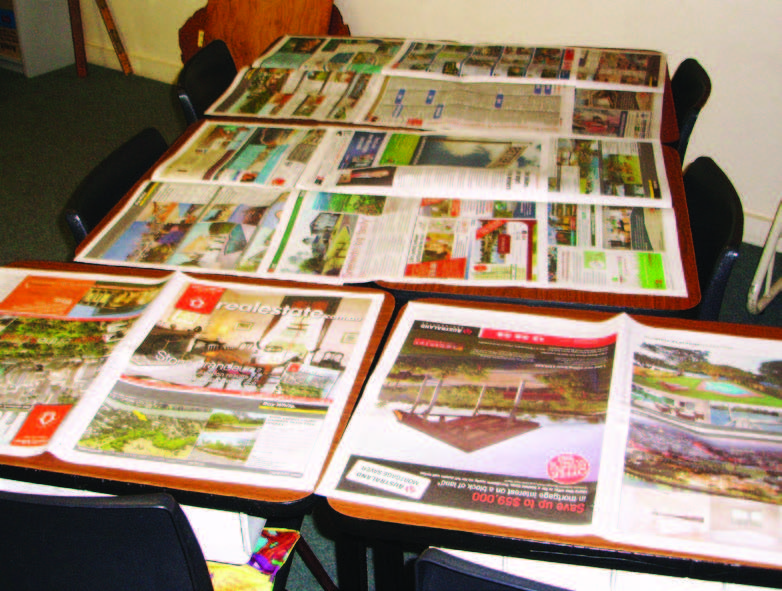
1. Room set-up and preparation.
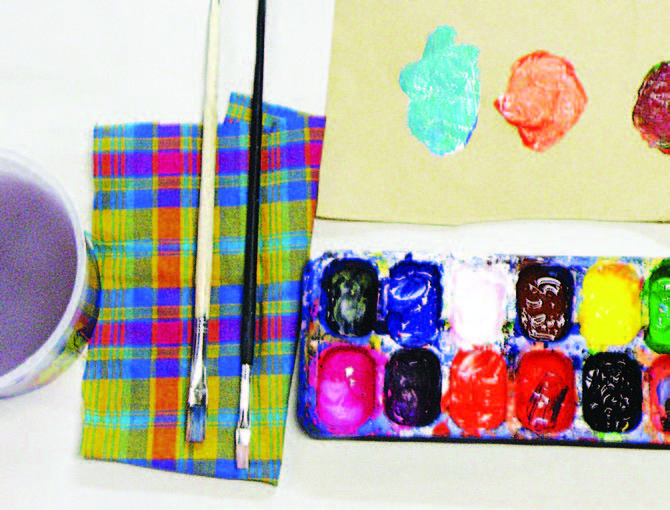
2. Dispensing paint, brushes, mixing paper (palette), cleaning rags and water.
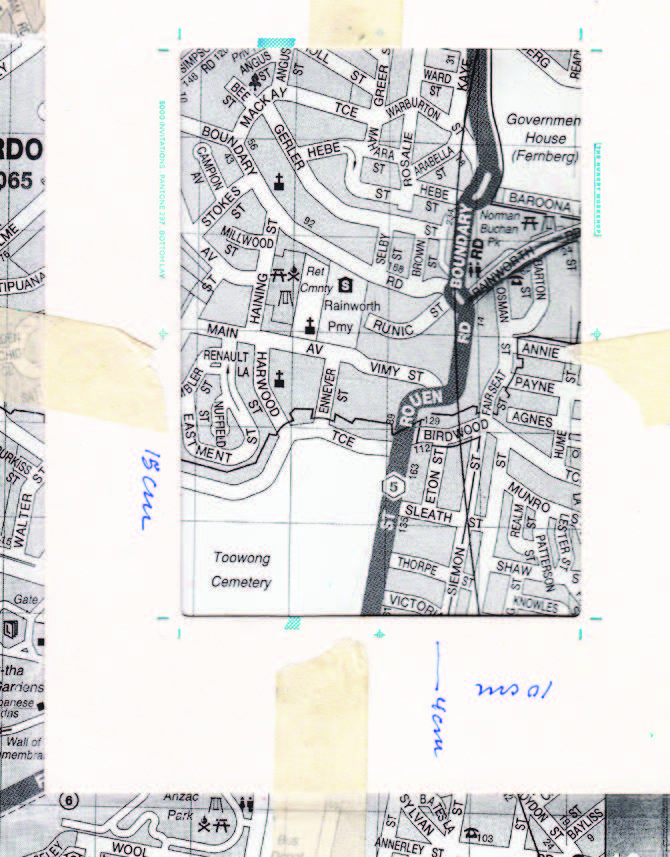
3. View finder taped to a selected area on a map.
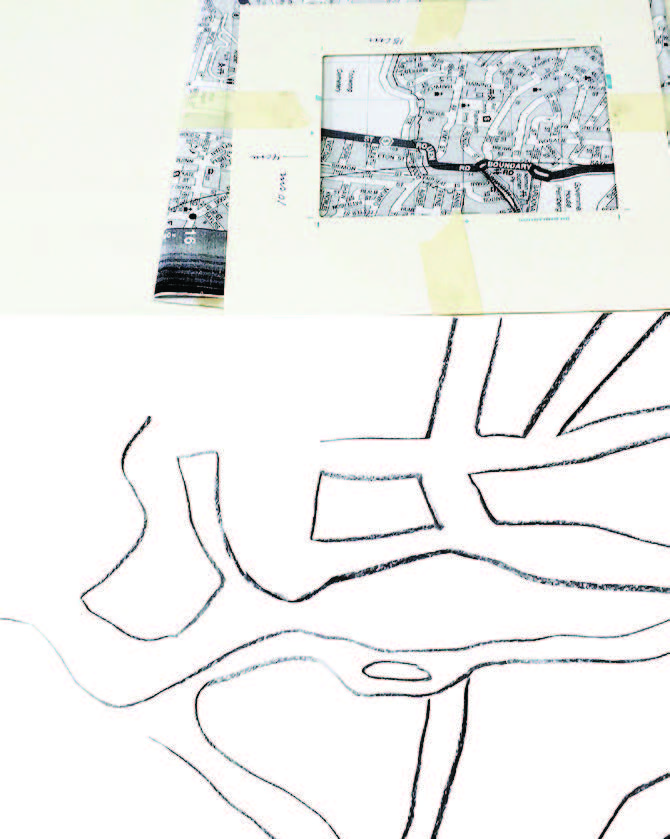
4. Charcoal line drawing from map reference.
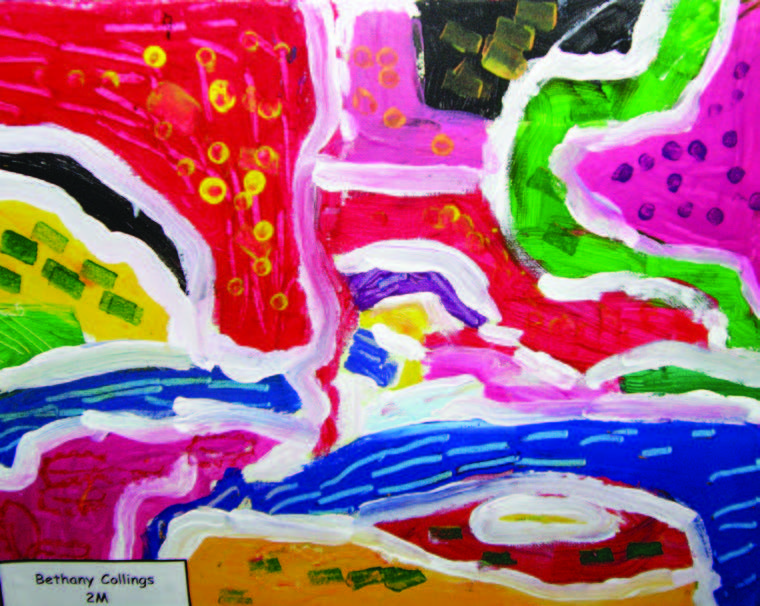
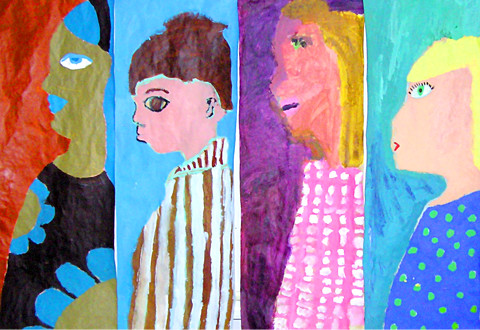
Painting by a seven year old student.
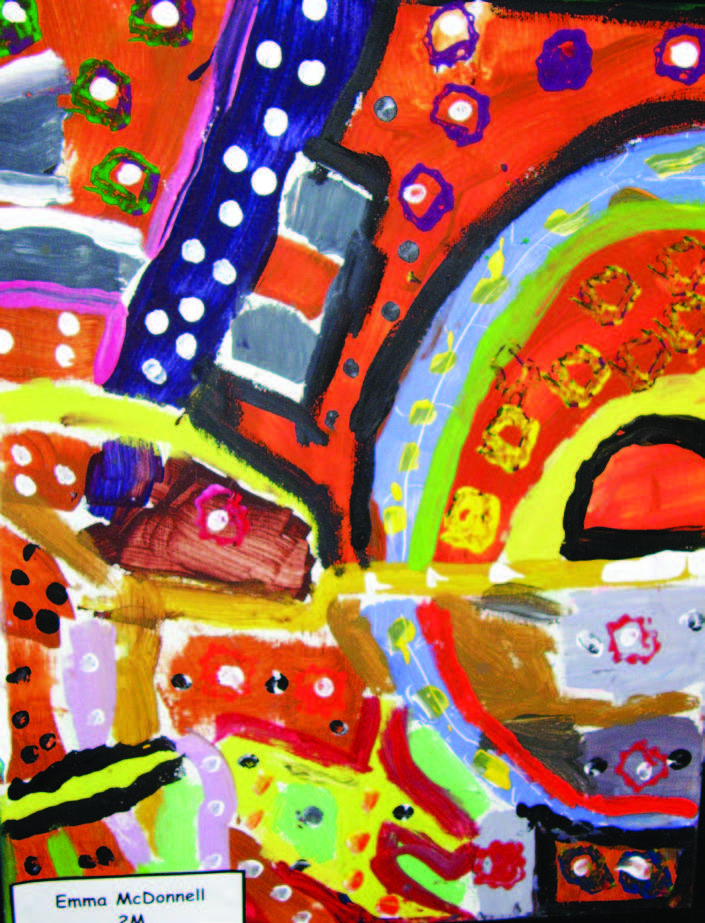
Painting by a ten year old student.
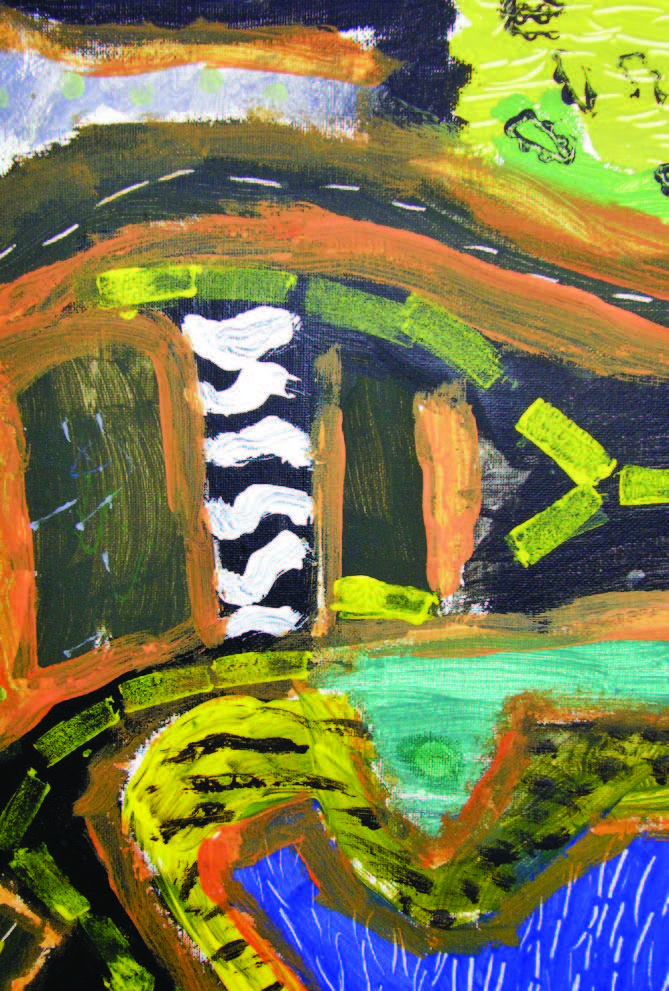
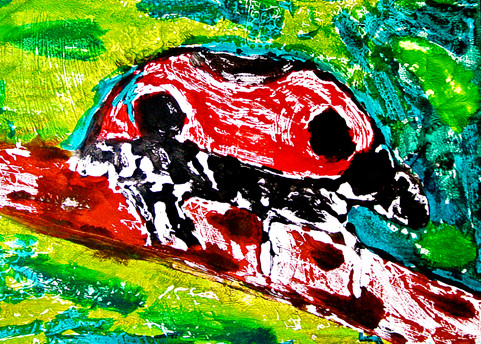
Painting showing scratched textures, printed and painted patterns.